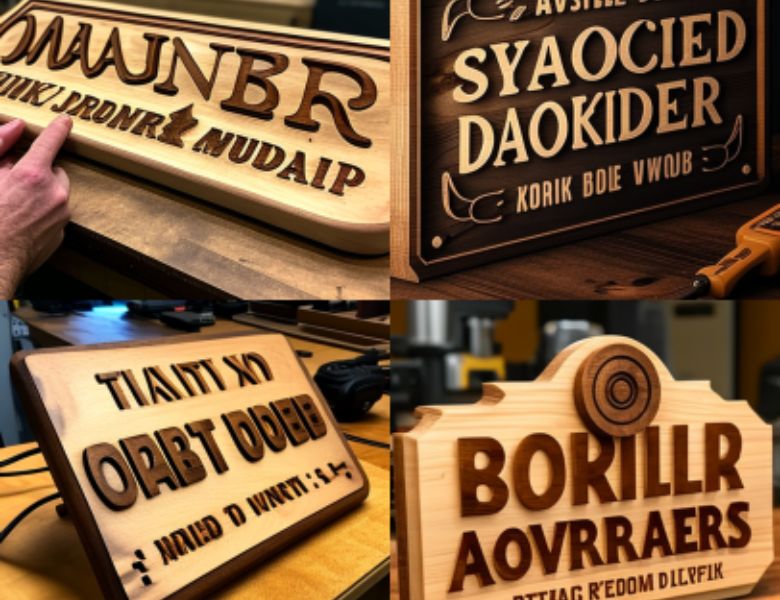
Are you interested in making your own wood router signs, but don’t know where to start? Don’t worry, we’ve got you covered! In this guide, we will walk you through the process of making wood router signs for beginners. We’ll cover everything from the tools and materials you’ll need to the step-by-step instructions for creating your own unique and beautiful wood signs. Whether you’re a seasoned woodworker or just starting out, this guide is perfect for anyone who wants to learn how to make wood router signs.
What are Wood Router Signs?
Before we dive into the how-to portion of this guide, let’s take a moment to discuss what exactly wood router signs are. Simply put, they are signs made from wood that has been carved or engraved using a router. This allows you to create intricate designs and lettering that are difficult to achieve with other methods.
Tools and Materials You’ll Need:
To make your own wood router signs, you’ll need the following tools and materials:
- A router (preferably a plunge router)
- A router bit (preferably a 1/4″ or 1/2″ straight bit)
- A piece of wood (preferably hardwood such as oak, maple, or cherry)
- Sandpaper (preferably 120 grit)
- Paint or stain (optional)
Step-by-Step Guide: How to Make Wood Router Signs for Beginners:
Now that you have your tools and materials, it’s time to start making your wood router sign! Follow these step-by-step instructions to create your own unique and beautiful wood sign:
a. Designing Your Sign:
The first step in making a wood router sign is to design your sign. This can be done on paper or using computer software such as Adobe Illustrator or Inkscape. Once you have your design, you’ll need to transfer it onto the piece of wood you’ve selected.
b. Preparing the Wood:
Before you can start routing your sign, you’ll need to prepare your wood. Start by sanding the wood with 120 grit sandpaper to remove any rough spots or blemishes. Once the wood is smooth, you can apply a coat of paint or stain if desired.
c. Setting Up the Router:
Once your wood is prepared, it’s time to set up your router. Start by attaching the straight bit to the router and adjusting the depth of the bit to the desired depth for your design. Then, attach the router to a router table or workbench.
d. Routing Your Sign:
With the router set up, it’s time to start routing your sign. Begin by making shallow passes with the router over the areas you want to carve or engrave. Once you’ve made a pass over the entire design, you can adjust the depth of the bit and make another pass, going a little deeper each time until you’ve reached the desired depth.
e. Finishing Your Sign:
Once you’ve finished routing your sign, it’s time to add the finishing touches. Use sandpaper to smooth out any rough edges or blemishes on the wood. You can also apply a coat of paint or stain to enhance the natural beauty of the wood.
Tips for Making Great Wood Router Signs:
- Choose the right wood: Hardwoods such as oak, maple, or cherry are ideal for making wood router signs as they are durable and can withstand the routing process.
- Use the right bit: A straight bit is the best choice for carving and engraving wood router signs as it produces clean and precise cuts.
- Start with a simple design: If you’re a beginner, it’s best to start with a simple design until you become more familiar with the routing process.
- Practice on scrap wood: Before you start routing your actual sign, practice on a piece of scrap wood to get a feel for the routing process and to ensure that your router settings are correct.
FAQs:
Q. Can I use a handheld router for making wood router signs?
A. While a handheld router can be used for making wood router signs, a plunge router is a better choice as it allows for more precise cuts and depth adjustments.
Q. Do I need a router table to make wood router signs?
A. No, you don’t need a router table to make wood router signs, but it does make the routing process easier and more precise.
Q. What type of paint or stain should I use to finish my wood router sign?
A. You can use any type of paint or stain that is suitable for use on wood. Just be sure to apply it evenly and follow the manufacturer’s instructions.
Conclusion:
Making wood router signs is a fun and rewarding hobby that anyone can enjoy. With the right tools and materials, and following the steps in this guide, you can create your own unique and beautiful wood signs. So why not give it a try and see what you can create? Remember, practice makes perfect, so don’t get discouraged if your first few attempts don’t turn out exactly as you’d hoped. With time and practice, you’ll become a pro at making wood router signs for beginners.


1 thought on “How to Make Wood Router Signs for Beginners: A Step-by-Step Guide”